


Ironing your clothes is crucial if you want to make a fantastic impression wherever you go. But if you’re not careful about keeping it clean, your iron can quickly turn into your worst enemy and wreak havoc on your clothes.
Nothing is worse than pressing the creases out of your favorite work shirt only to pull up the iron and find a dirty smear spread across the fabric. And when it’s not staining your clothes, a grimy iron will be way less efficient, forcing you to work harder and longer to get out even the lightest wrinkles.
A clean iron will save you from the embarrassment of stained clothes and the headache of a time-consuming chore. To help make your mornings a little easier, we’ll show you eight different ways to clean an iron, so you can always be sure your iron will get the job done when you need it.
When Should You Clean Your Iron?
You should clean your iron once a month if you use it every day. If you use your iron infrequently, you may only need to clean it once every 4-6 months.
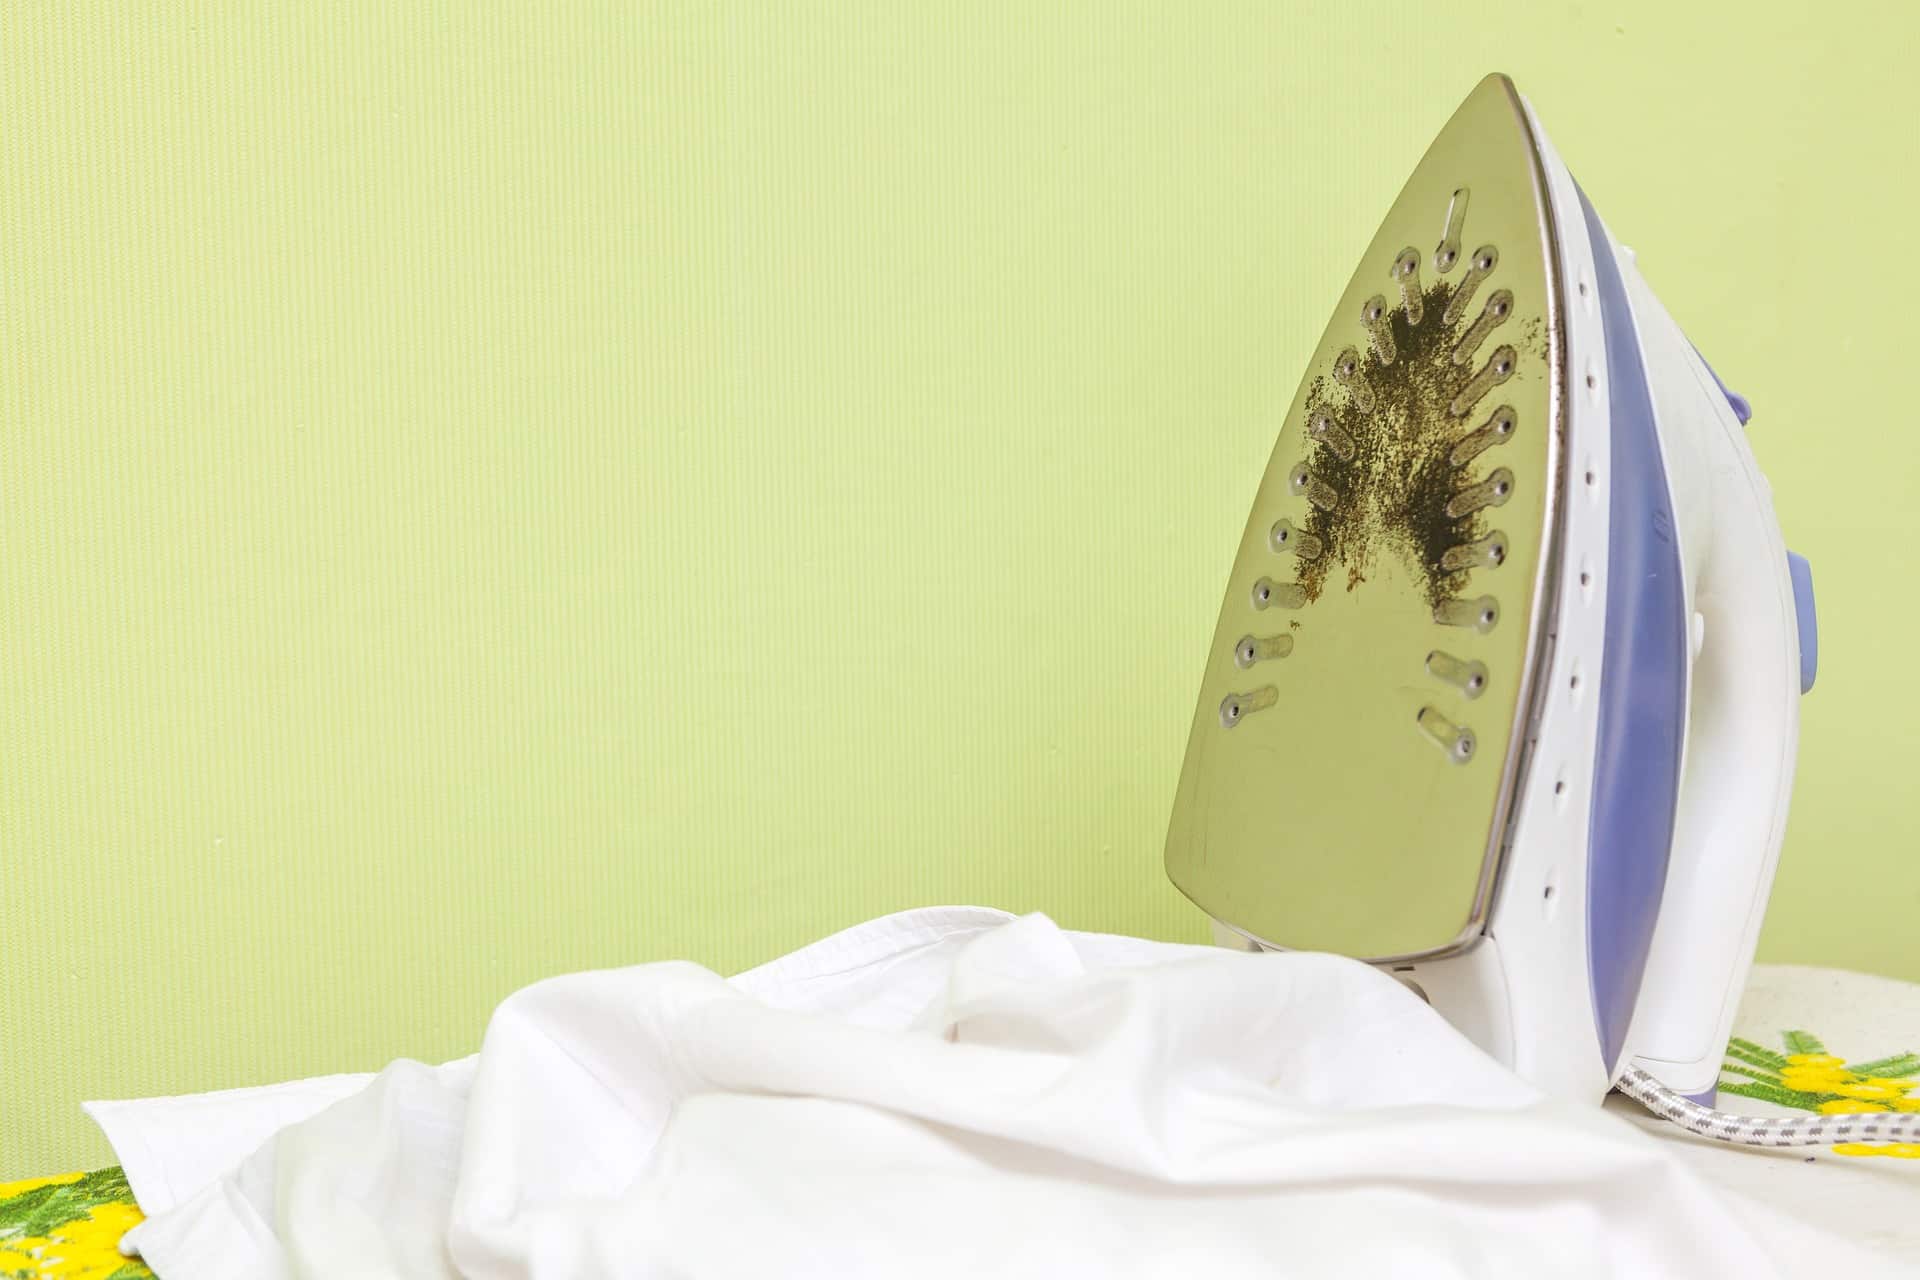
Regardless of how long it has been since you last cleaned your iron, any charring on your iron’s soleplate is a sure sign that it’s time for a wipe down. Burnt-on grime can develop over time from scorched synthetic fabric, starch, and sizing, creating rust-looking stains and affecting the performance of the iron.
Along with burnt-on gunk, keep an eye out for these tell-tale signs that your steam iron needs a cleaning:
- The iron starts sticking rather than gliding smoothly over the fabric
- Your clothes are getting mineral residue or rusty-looking stains from the iron
- The iron spits water when you try to use steam
- Water from the sprayer looks dirty
These issues indicate that you’ve got gunk built up somewhere on the soleplate, in the steam vents, or inside the water reservoir. Let’s see how we can tackle each one without damaging your iron.
How to Clean an Iron Inside and Out with Vinegar
Is your steam iron starting to spit out water? Do the steam vents seem like they’re not working like they used to, or worse, are they leaving chalky residue on your clothes?
You could be dealing with dissolved minerals in the tap water you’re putting in the iron’s reservoir. Hard water creates limescale and mineral deposits that make themselves known by clogging steam holes and leaving white stains on the fabric.
To clear these minerals, you can resort to the same do-it-all cleaning solution you use on hard water stains in the bathroom — vinegar.
1. Fill the Iron’s Water Reservoir with Vinegar and Water
Fill your iron’s water reservoir to the fill line with a mix of ½ distilled white vinegar and ½ distilled water. If you don’t have distilled water, fill your iron about ¼ of the way with only vinegar instead.
Turn your steam iron to a high setting (the “cotton” setting is perfect). Lay down an old towel or two on a cutting board or your ironing board.
2. Steam Out the Vinegar
Run the hot iron on the towel while pressing the steam button. The vinegar will travel through and clear out the steam vents, with its acetic acid dissolving calcium and any other hard water minerals in the way. Alternate between steaming and spraying the vinegar on the towel to clear out the spray nozzle as well.
Continue ironing the towels and steaming out the vinegar until the iron is empty. By that point, any mineral deposits in the steam vents and nozzle, along with buildup on the soleplate, should be dissolved away.
3. Wipe Down the Iron’s Soleplate with Vinegar
To remove mineral deposits and other grime from the soleplate, you can try buffing it vinegar. One way to do this is to saturate a towel with distilled white vinegar and iron over it to wipe the soleplate. Alternatively, let the iron cool down and clean it with a vinegar-soaked towel. Wipe it down with a damp cloth after cleaning with vinegar, and then dry with a clean paper towel.
4. Use Salt and Vinegar on a Dirty Iron Plate
Vinegar is an excellent cleaner, but it’s often not enough to restore a heavily scorched iron. When you need more cleaning power, you can incorporate some salt into the mix to make a stain-fighting paste.
Mix vinegar and salt in a 2:1 ratio and heat them in a pot until the salt dissolves. Let the solution cool. Apply the paste to a clean microfiber cloth or an old toothbrush and scrub away the burn marks. Then, use a damp cloth to wipe the soleplate clean.
5. Clean the Steam Holes with a Cotton Swab
Cotton swabs are the perfect tools to scrape away tough stuck-on gunk from the steam vents. Soak a swab in vinegar and use it to clear out the steam holes and work out any hidden hard water residue.
Make a Baking Soda Paste to Lift Grime
In many ways, if you know how to clean an oven, you know how to clean an iron. You can use the same baking soda paste that works so well on lifting burnt food to lift burnt fabric!
The alkalinity of baking soda dissolves organic substances in the oven, but for gunk on a steam iron, we rely on its gentle abrasiveness to get the job done.
Mix a couple of tablespoons of baking soda with a tablespoon of water to make a paste. Apply the paste to a cool iron plate and wipe it with a clean, dry cloth. Be aware that this might take a little time and some elbow grease to remove all of the scorch marks.
Try a Magic Eraser on a Dirty Soleplate
If you have a magic eraser handy, it might be the most convenient option for cleaning a wide spread of scorch from the bottom of an iron. As with the baking soda paste method, it will take a little effort to get all of the grime off the iron plate, but you won’t risk damaging the metal.
Wet your Magic Eraser and squeeze out excess water. Lightly scrub the plate until the stains come out.
Scrub Burnt-On Gunk with Dryer Sheets
Dryer sheets have texture and fabric softening agents that combine to create a clever tool for removing gunk from iron soleplates.
Put the iron on its lowest heat setting. When it heats up, carefully rub the dryer sheet on the stain until it’s gone. The dryer sheet will leave an oily residue behind. Wipe it off with a clean cloth after getting rid of all the scorch marks.
Try the Magic of Acetaminophen Tablets
One of the most unexpected ways to clean burnt residue from a soleplate is also one of the most effective — using Tylenol tablets. You can do this method with any brand of acetaminophen, but make sure you’re using the standard white tablets and not a capsule.
Turn your iron to its hottest setting. Holding the acetaminophen tablet with a pair of tweezers or a heat-protecting glove, rub it into the burnt area. Be careful to avoid scratching the soleplate with the tweezers. The tablet will melt and wipe away the burnt-on grime like magic!
Use Nail Polish Remover to Dissolve Grime
Acetone nail polish remover is super-efficient at breaking down burnt substances on an iron soleplate, especially singed polyester. Unfortunately, it can also give off fumes, so make sure you keep the room aired out while working with it.
Heat your iron on its lowest setting. Soak a cotton ball or cotton swab in nail polish remover. With an oven mitt or heat-protecting glove, rub the burnt spot until it disappears. Let the iron cool and wipe it down with a clean, damp cloth.
Try Toothpaste for a Simple Scorch Scrub
The mild abrasiveness of white toothpaste can help clean burnt residue off a cool iron in a pinch. Simply rub a dab of toothpaste into the scorched spot with a clean cloth until the mark is gone and wipe it clean with a damp cloth.
Scrape Melted Material with Wood or Plastic
One of the easiest ways to kick off thick chunks of grime is with a wooden spatula or plastic knife. No matter what metal it’s made of, the iron soleplate is harder than wood or dull plastic, so you won’t risk scratching it while you scrape off burnt-on gunk.
You use either wood or plastic on a cool iron, but you may find it more effective to heat the iron to loosen stuck-on materials. The plastic knife is a bad idea in this case because it will melt and create a whole new cleaning chore. Your wooden spatula, however, is the perfect tool to stand up to the heat. Turn your iron to a low or warm setting and carefully scrape melted plastic and fabric from the hot iron with your spatula.
Make Ironing a Breeze with a Clean Iron
No matter which method you choose, it takes a while to clean an iron with a ton of scorch marks and grime on it. Rather than rely on your baking soda and vinegar to take care of your iron, you can save a ton of time and aggravation by preventing burns and contamination from happening in the first place.
Always check your clothing’s care instructions to avoid using too much heat. If you have hard water in your area, avoid tap water and opt for distilled instead. And when those unavoidable scorch marks or clogs do show up, you now know all you need to clean your iron and keep it working like a charm!
Ironing is just one of a thousand daily housekeeping chores to keep you busy, and sometimes an extra hand can make all the difference in the world. Whether you need a little help with the laundry or a lot of help with a deep clean, our team at Anita’s can find the perfect local cleaning expert to fit your needs. Get the relief you’ve always wanted, and request a booking today!