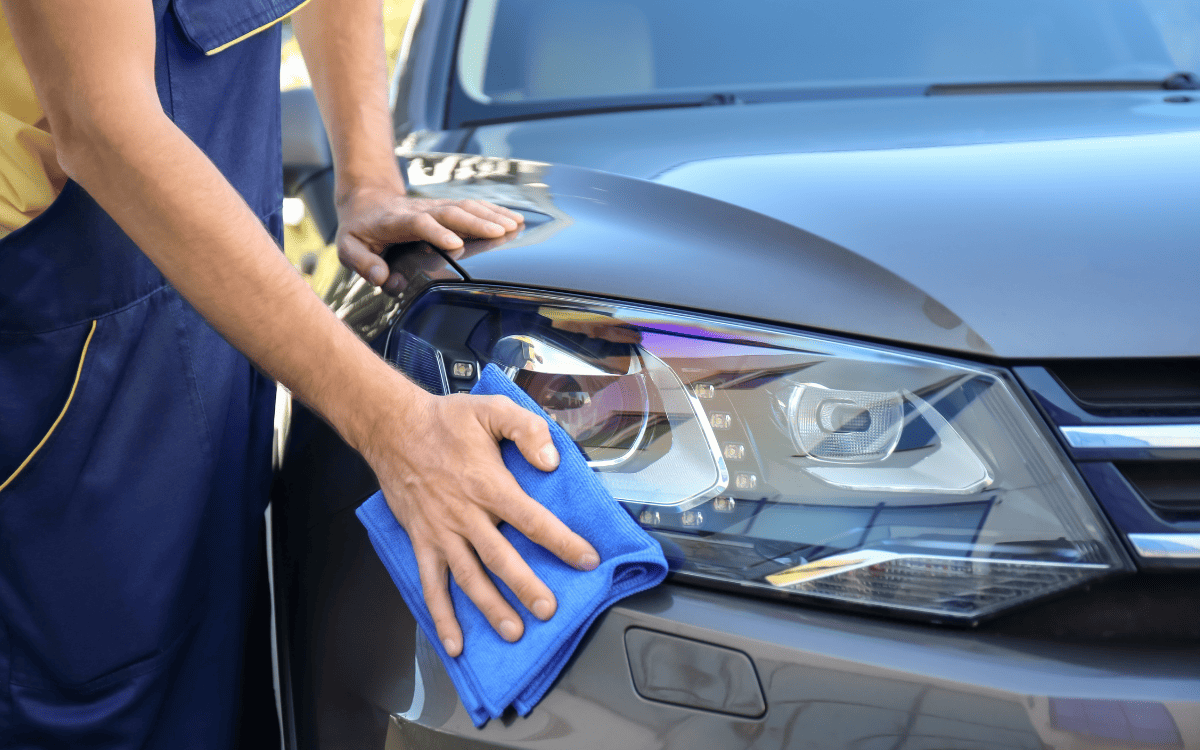

Hazy, yellow car headlights create more than an aesthetic problem – it’s a driving hazard.
Foggy headlights deliver as little as 20% of the light of new headlights, putting everyone on the road at risk. To help you protect yourself and your fellow drivers, I’ll explain how to clean headlight covers with straightforward, cost-effective fixes.
How To Clean Headlight Covers
Plastic headlights weaken and yellow due to oxidation from UV exposure. Manufacturers add a protectant to new headlights to prevent this, but eventually, being out in the elements will wear this layer out and expose the vulnerable polycarbonate plastic underneath.
Alongside the yellowing, debris can scrape the headlight lenses. While removing the oxidation is critical, you must also smooth any scuffs and scratches that add to the milky look.
Fortunately, a micro-abrasive will solve both issues. Through mechanical action, you’ll strip away the old, damaged clear coat and the oxidized plastic. You can then polish your headlights to remove scratches, and – voila! – you’ll have crystal clear headlight covers.
Easy DIY Methods To Clean Foggy Headlights
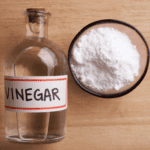
Seasoned DIYers can probably think of a few everyday materials to use as a gentle micro-abrasive. Many find vinegar and baking soda pastes give them enough scrubbing power. And if you remember how a Magic Eraser works, you’ll recognize melamine sponges as a viable option to scrape away blemishes.
For cost-effectiveness, white toothpaste is a great choice to remove minor oxidation from plastic headlight covers. The mild grit that polishes tooth stains also buffs out minor scratches and yellowing to restore dirty headlights. It isn’t the longest-lasting solution, but it makes a significant difference when needed.
Tools and Supplies
- White toothpaste (e.g., Colgate Baking Soda and Peroxide Toothpaste)
- Microfiber cloths
- Mild dish soap (e.g., blue Dawn)
Step 1: Wash the Headlights
Cleaning car headlights with soap and water is a critical first step. If your headlights have grunge and dirt buildup, it will reduce the toothpaste’s effectiveness and potentially add more scratches.
Wash your headlights with mild dish soap in warm water, and clean away any grime with a soft cloth. Finish by drying with a clean microfiber cloth or paper towel.
Step 2: Clean the Headlights With Toothpaste
Apply white toothpaste (containing baking soda) to the headlight. Buff it over the surface with a clean cloth, using circular motions and firm pressure.
Step 3: Rinse the Headlight
Rinse the headlight with fresh water. Wipe with a clean cloth to remove the toothpaste residue. If you still notice a haze, repeat steps 2–3 to continue clearing it up.
How To Clean Headlights for Lasting Results
Toothpaste, baking soda, and other simple methods for cleaning foggy headlights can give you decent results but limited longevity. A headlight hack could last a few months, or it may fizzle out in only a few days.
The best way to clean plastic headlight covers and get lasting clarity is with wet-dry sandpaper, polish, and a sealant.
For a consumer-friendly solution offering professional results, you need a headlight lens restoration kit. Kits vary but typically have sanding pads of different grits, an activator to soften the plastic and a clear coat to apply at the end. A few of my top product recommendations include:
- 3M Ultra Headlight Restoration Kit (requires a drill)
- CERAKOTE® Ceramic Headlight Restoration Kit
- SYLVANIA Headlight Restoration Kit
You can also assemble a cleaning kit at home with individual pieces. The entire process of cleaning yellow headlights will take about 15–20 minutes. Although power tools will speed the process and save your strength, they aren’t necessary for pristine results.
Tools and Supplies
- Wet-dry sandpaper of varying grit (800–3000)
- Microfiber cloth
- Spray bottle
- Paper towels
- Polishing compound (e.g., Meguiar’s Mirror Glaze)
- Painter’s tape
Step 1: Wash the Headlights
Wash the headlights with a window cleaner or soap and water. Remove as much sludge, dirt, and debris as possible before sanding.
Step 2: Tape Around the Headlight
Apply painter’s tape around the headlight to protect the surrounding car paint from the sandpaper. Ensure the entire headlight surface area is exposed for cleaning.
Step 3: Sand With 400–800 Grit Sandpaper
Fill your spray bottle with clean water, and generously spray the headlight and the sandpaper.
Start with your coarsest sandpaper (~800-grit, or 400-grit for intense yellowing). Using medium pressure, sand the entire headlight in even circular motions until you remove the protective coat and oxidation.
Spray water as needed to keep the lens wet while working. The headlights will look cloudy after the first round of sanding, but the yellow should be gone. Spray the headlight with water and wipe the sanded material off with a clean cloth.
Step 4: Sand With 1,500–3,000 Grit Sandpaper
With your next highest grit sandpaper (~1,500 grit), sand the headlight as you did in step 3. Once complete, move on to the finest grit, such as a 3,000-grit sandpaper, and repeat the process.
Step 5: Apply Rubbing Compound and Clear Coat
To remove the lingering haze from the sandpaper, apply a polishing compound. Buff the compound into the headlight lenses with a clean microfiber cloth until they’re crystal clear.
Finish by applying a clear coat sealant to your now-clean headlights. A product like Meguiar’s Headlight Coating (part of Meguiar’s headlight restoration kit) will protect headlight lenses from UV rays, helping them maintain clarity and avoid damage for a year or even longer.
Easy Steps To Prevent Hazy Headlights
The only thing easier than cleaning foggy headlights is preventing them in the first place. Knowing how headlight lenses break down in the elements, we can take a few hassle-free steps to avoid reduced performance and the need to clean:
- Apply a headlight clear coat at least once annually
- Park in a garage or a carport in your driveway
- Wash your car at least twice weekly
- Clean your headlights with glass cleaner as needed
Frequently Asked Questions (FAQ)
Can Foggy Headlights Be Completely Restored?
You can completely restore foggy headlights to like-new condition by sanding, polishing, and coating them with a headlight sealant. Checking your headlights frequently for hazing will help you catch problems early and make cleaning much faster.
Are There Legal Requirements for Headlight Clarity?
Besides creating obvious safety risks, dim headlights can also be cause for a cop to pull you over. Reducing the brightness by up to 80%, plastic deterioration can limit visibility enough for you to get a citation for using unsafe equipment.