Are you preparing for your next painting project? Before you start, you need to go through a mental checklist and ensure you have everything you need. Paintbrush? Check. Drop cloths? Check. Painter’s tape? Got it. But what about clean walls?
All sorts of things can build up on your walls, including:
- Dust
- Grease
- Dirt
- Mold
- Smoke residue
- Food stains
Cleaning is an essential part of surface preparation; if you skip this step, your walls will end up looking uneven, and the paint won’t adhere to them properly.
We know it’s tempting to go ahead and start painting. After all, cleaning isn’t most people’s favorite thing to do, and you’ve already got a lot of work ahead of you. But cleaning the walls will make a big difference in the quality of your paint job. Here’s the best way to do it:
Assembling Your Supplies & Setting Up
What should you use to clean your walls? Before you get started, make sure you have the following:
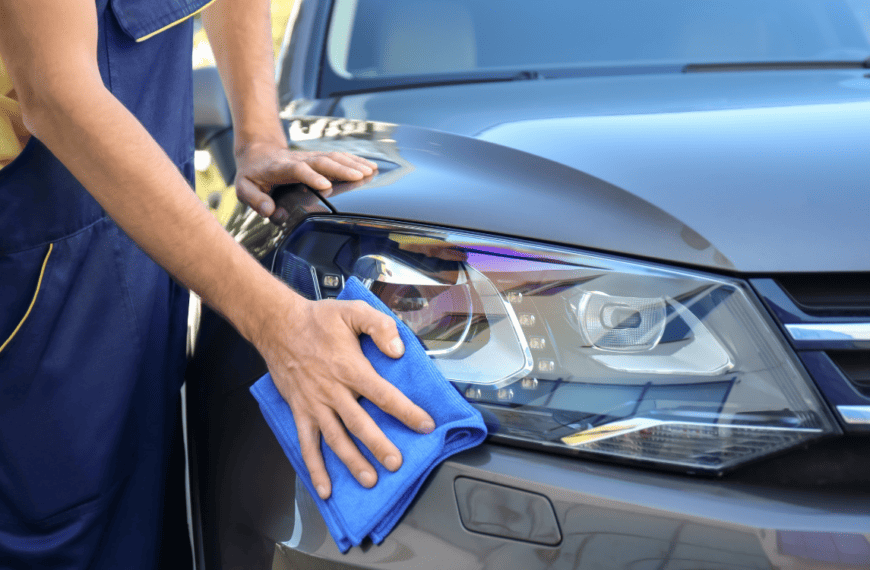
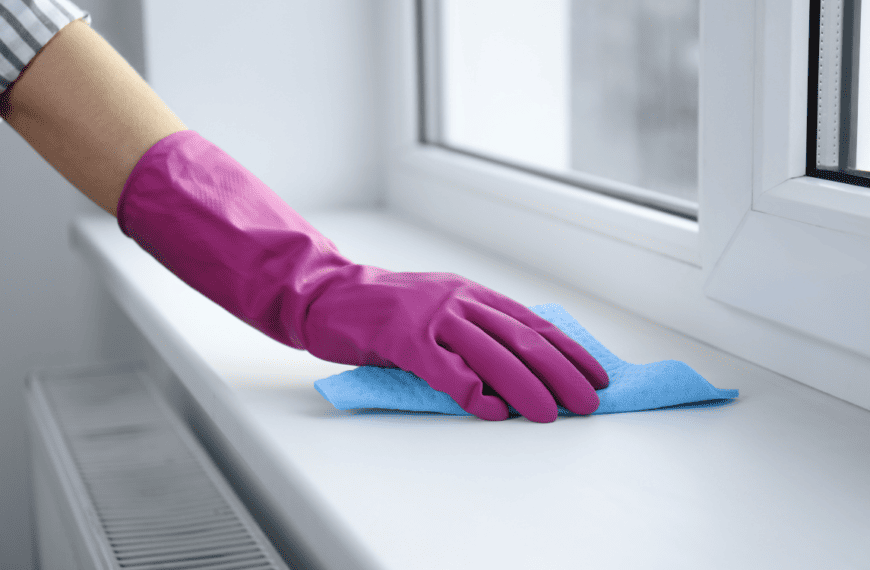
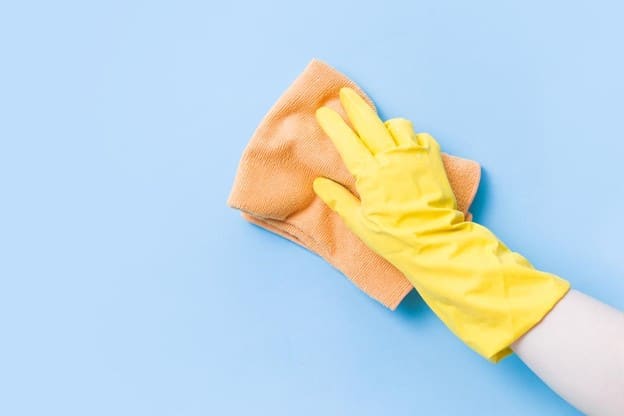
Cleaning tools. To wash the walls, you can use a soft, large sponge. Or, use the head of a mop. You can also use a basic washcloth. To reach the highest sections of your wall, you might also need a step stool or ladder.
Cleaning products. For removing most stains, mild soap and hot water will do the trick. If you use harsh chemicals, it may damage the walls. Depending on what type of stain you’re removing, different cleaning solutions will work best, but we’ll get into that later.
Prepare the area. Next, you need to clear the space around your walls. If you’re painting a room with a lot of furniture, try to move the items away from your walls; this makes it easier to clean them. It also prevents any cleaning solution from dripping onto the furniture.
Is the room too cluttered to clean? Use a guide to junk removal to help cut back on clutter. This step will take additional time, but it will make the cleaning and painting processes much easier.
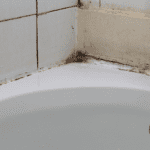
Get Rid of Mold & Mildew
Mold thrives in humid places. You might find it in your kitchen, or the bathroom near the shower. In rooms with higher humidity levels, you’ll need to get rid of mold before you start painting.
First, gather some protective equipment. If you are exposed to mold spores, it may cause respiratory congestion, itchy eyes, and skin irritation. Wear a protective mask, goggles, and gloves whenever you’re cleaning mold.
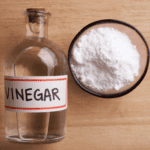
To remove mold completely, you’ll need to use a specific cleaning solution—one that’s designed to tackle bacteria and mildew. You can mix a bleach solution but be sure to do so in a well-ventilated area. Do not mix bleach with other cleaning products, such as vinegar or baking soda.
Wipe Away Dust
We know that dust builds up on our furniture, tables, and electronics. But what about our walls?
We recommend using a dry microfiber cloth to do the job. But if you don’t have one, you can use a vacuum with a brush extension.
Make sure to get into the farthest corners of the walls and ceiling, which may have cobwebs. Once you’ve removed all the dust, you can wash the walls using a wet cloth and soap.
Are you planning to sand your walls? By using sandpaper, you can ensure that the surface will be smooth and seamless. You can expect to create a lot of drywall dust during this process. Once you’re finished sanding the walls, make sure to dust them.
Neutralizing Smoke
Indoor smoke creates a stale, musky odor. It can build up from smoking indoors or from fire damage. To get rid of it, you’ll need to use something stronger than soap and water.
If you apply paint over smoke residue, the odor will still come through. You need to target the residue directly to get rid of the smell. For that, you’ll need to mix a solution of hot water and vinegar.
Vinegar is acidic, which means it can break down nicotine stains. Create a cleaning solution with one part vinegar and one part hot water. You can adjust the ratio depending on how strong the smoke smell is. Make sure to wear gloves while you’re cleaning to protect your hands.
Don’t like the smell of vinegar? Try mixing in some essential oils to dilute it. Or, once you’ve finished washing with vinegar, go over the walls again with plain water and soap.
Washing Food Stains
Take a closer look at your walls, and you’ll see oil smears, crumbs, and food stains. To clean kitchen walls, you’ll need something that can tackle grease.
The owner of Pinnacle Painting writes, “Oil and water don’t mix. If you try to apply a water-based paint over an oily wall, the paint will have trouble adhering to the surface.”
Use a soap that’s designed to remove oil (like dish soap). Then, lather up your sponge in a bucket of soap and hot water. Wring it out gently and begin to scrub the walls. Be sure to apply more pressure to spots with grease.
Once you’re done, you may want to go over the walls with water, just to remove any remaining soap residue.
Let Them Dry
Now that your walls are spotless, you’re eager to start painting. But first, it’s important to let the walls dry completely—otherwise, all that cleaning will have been for nothing. Any remaining moisture on the walls will make the paint look bumpy. It can also cause mold growth.
If you want the walls to dry quickly, you can go over them with a dry towel. Open any windows in the room to improve ventilation.
Even if you choose to work with a professional painter, they might not wash the walls before painting them. After all, they showed up to paint, not to clean! Be prepared to do the work yourself (or hire a house cleaner to do it for you).
House cleaning can be an overwhelming task. It’s hard to find the time to clean when you’re balancing all your other responsibilities. With Anita’s Housekeeping, it’s easy to find a qualified cleaner to help you out. Make your painting preparation a breeze, and request an online booking today.