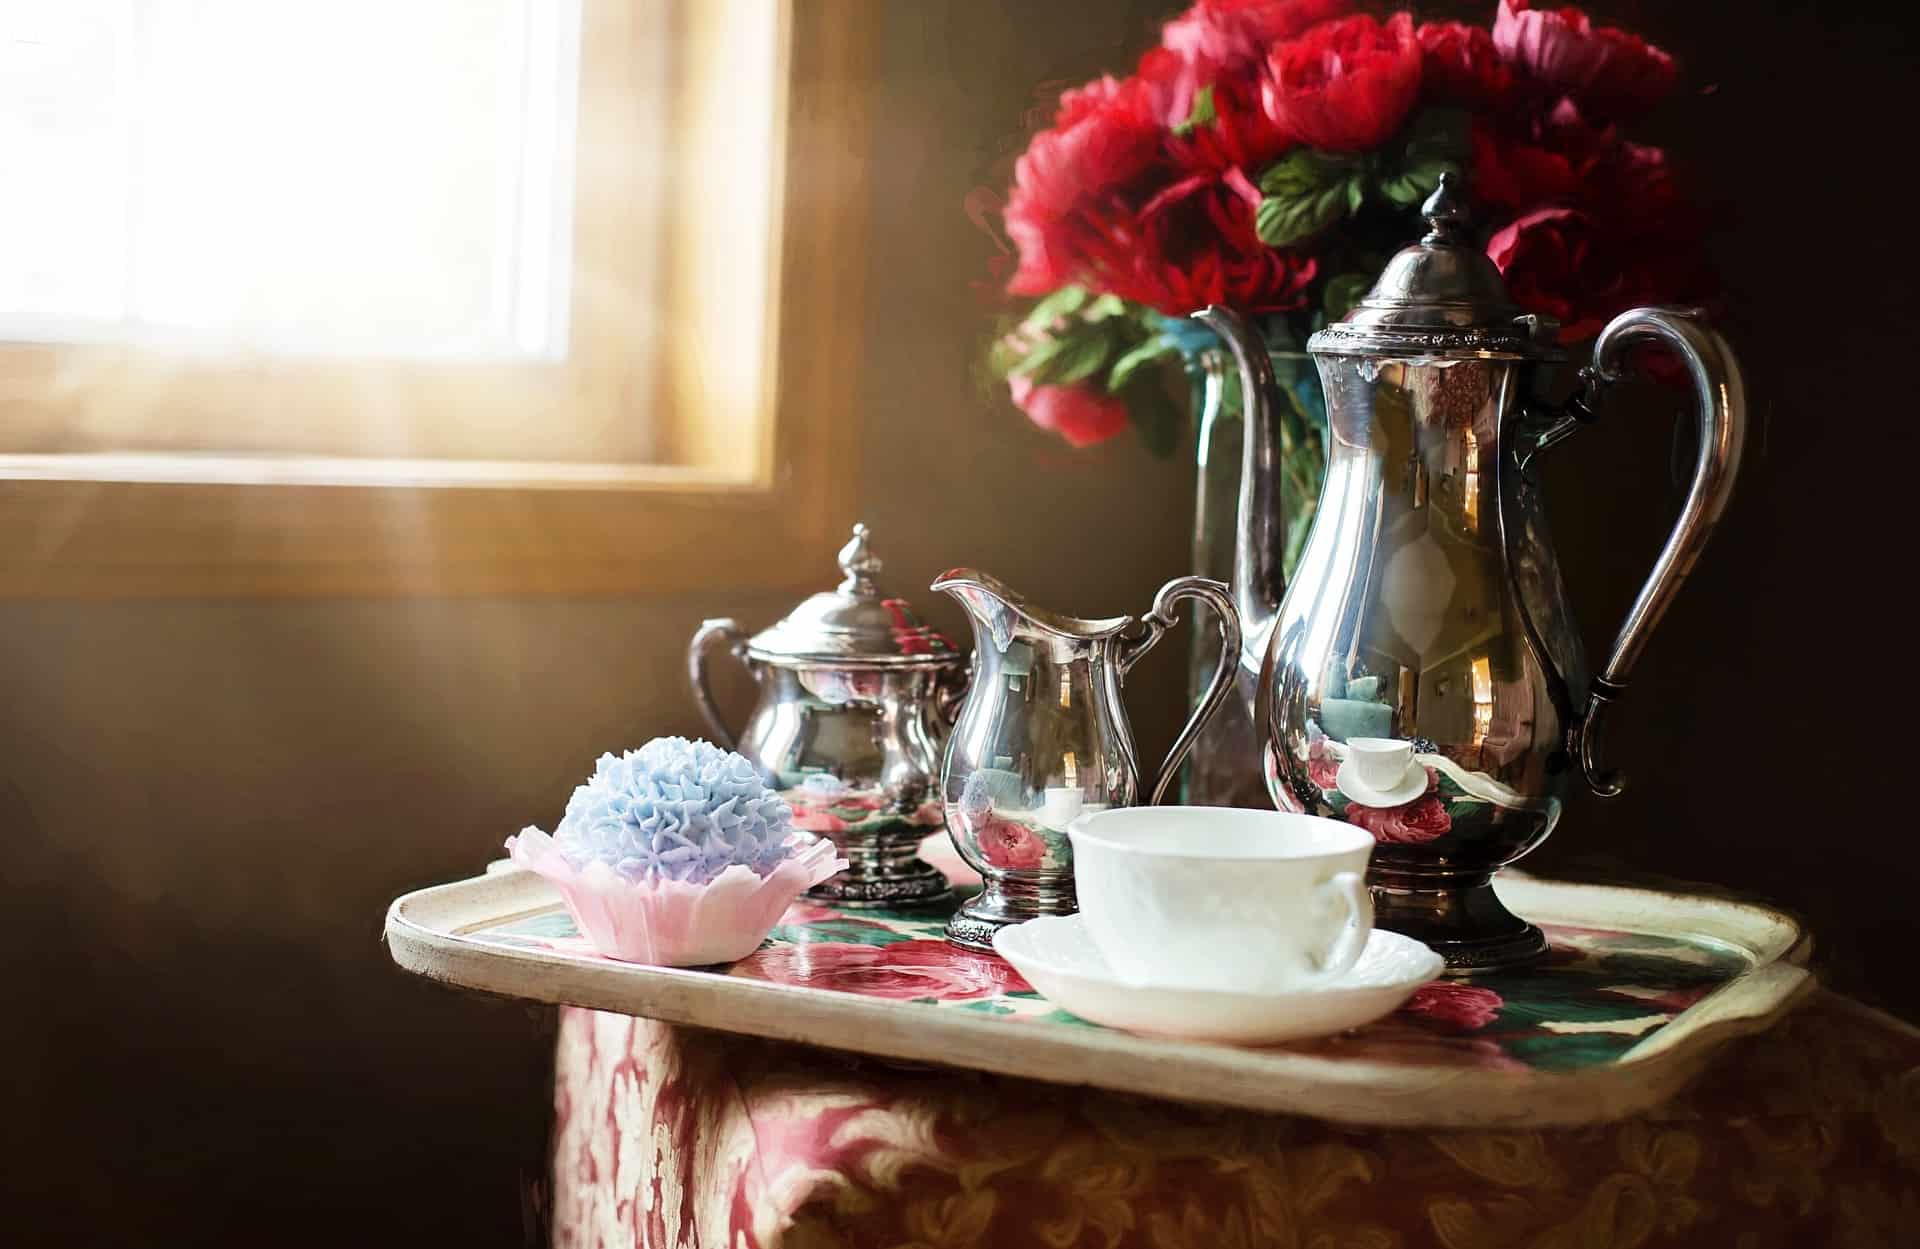

Are your silver pieces starting to look dull and lifeless? Precious silver jewelry and antique heirlooms deserve to be flaunted, but when tarnish takes over, you’ll be rushing them from the display case to the hidden depths of your cabinets in no time.
Tarnish can ruin the looks and value of your silver, so there’s no doubt that you’ll want to clean it as soon as possible. Using abrasive polishes and harsh chemicals to clean silver may bring some shine back, but you also risk removing some of the silver as well.
Fortunately, there’s a better way to clean silver, and it all relies on household ingredients and some savvy science.
If you need help restoring a stunning luster to your tarnished silver items, we’ll show you how cleaning silver with aluminum foil is the safest, simplest, and most effective solution.
Cleaning Silver with Aluminum Foil, Baking Soda, and Water
Tools
- Glass or plastic container large enough to hold your silver pieces
- Aluminum foil
- Baking soda
- Boiling water
Step 1: Line Container with Foil and Add Silver Items
Line a non-metal container such as a glass baking dish or plastic tub with aluminum foil. It does not matter whether you put the shiny side up or down.
Your silver items will need to rest in the container making direct contact with the aluminum foil. You can also crumple the aluminum foil to lightly wrap the silver pieces, allowing more surface area to touch the silver.
If you are cleaning more than one silver item, make sure they are not touching each other.
Step 2: Add Baking Soda
Add baking soda on top of the silver pieces in the container. A couple of tablespoons of baking soda should suffice, but you can add up to 1 cup per gallon of water.
Step 3: Boil Water
Boil enough water to cover the silver in the container. The water needs to be hot to facilitate tarnish removal. The process works better and faster with boiling water, but if you can’t heat it on the stove, you can use hot tap water instead.
Note: Feel free to add baking soda to the boiling water at this stage instead of putting it on the tarnished silver pieces. You can create a hot baking soda mixture to pour into the container that will work just as well.
Step 4: Add Boiling Water and Let Sit
Carefully pour the water into the container and let the baking soda dissolve. Let the silver soak for a few minutes, and the tarnish will begin to disappear.
Light tarnishing may clear up in only a matter of seconds, but you may need to let more heavily tarnished silver items sit for longer. Add more hot water and baking soda after several minutes if the water cools but there is still more to clean.
Step 5: Rinse and Buff
There may be a white residue on the silver from leftover baking soda. It’s easy to get rid of it by giving the silver a quick rinse and drying it with a clean, soft cloth to restore a like-new shine.
Why Does Silver Tarnish?
Tarnish is silver sulfide, a dark substance that forms on silver surfaces when it is exposed to sulfur-containing gasses in the air, particularly hydrogen sulfide. These gasses can originate from common substances and items around the house, including:
- Foods like eggs, dairy products, and meat
- Paints and glues
- Chemical cleaning products
- Heating fuel
- Cosmetics
- Construction materials such as drywall and grout
- Rubber products
When the tarnish grows, it changes how light reflects off of it and the silver below, thus changing the hues you see. It starts as a yellow color and gradually turns red and a dark blue-black as the layer thickens.
Various types of silver will tarnish at different rates. For example, sterling silver, an alloy of 92.5% silver and 7.5% copper, will develop tarnish faster than pure silver because copper is more reactive to sulfur. As copper content goes up, the quicker it will happen.
Why Does Aluminum Foil and Baking Soda Work?
The science behind restoring and cleaning silver with aluminum foil, baking soda, and water is fascinating. It all has to do with an ion exchange process.
Aluminum is one of several metals that are more reactive than silver. Since it’s more reactive, it will pull sulfur atoms from tarnish through an electrochemical process.
The silver sulfide (the tarnish) transfers its sulfide ions to the aluminum, converting back into silver and creating aluminum sulfide on the foil. That’s why you’ll see the aluminum foil turn black and find yellow flecks floating around as the chemical reaction takes place. You may even notice a slight sulfur scent as it releases from the silver.
So, aluminum wants the sulfide ions more than the silver. But where do the water and baking soda come into the picture?
As you know, baking soda is one of the most versatile cleaning ingredients around, acting as a deodorizer, grease-cutter, and mild abrasive. But we use it to clean silver for a whole new reason.
Electrical reactions make the transfer of ions from silver to aluminum foil possible. Pure water is a poor conductor, but a solution like a saltwater bath is the perfect medium for the exchange.
In this case, sodium bicarbonate, a mildly alkaline salt, introduces ions that allow the electrochemical reaction. The water breaks down the salt into its sodium and bicarbonate components. The free-floating positively and negatively charged ions then carry electricity between the two metals.
Baking Soda Alternatives
You can create an effective electrolytic solution out of salts, acids, and bases containing the ions that promote conductivity. As you can imagine, plenty of household items fall into these categories and can subsequently take the place of baking soda.
Try substituting these everyday ingredients in place of baking soda in your hot water bath:
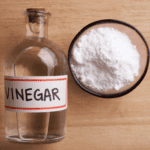
- White vinegar
- Table salt
- Lemon juice
- Powdered laundry detergent
By introducing any of these into your hot water, you’ll create a solution capable of carrying an electrical current and thus removing tarnish when paired with aluminum foil.
Why You Shouldn’t Polish Silver
By cleaning silver with aluminum foil and baking soda, you convert the silver sulfide back into silver, leaving much of the original material intact. When you polish silver, however, you’re cleaning tarnish by peeling back and removing layers of silver. It gives an impressive shine, but you need to keep your polishing to a minimum to keep as much silver in place as possible.
How to Prevent Tarnish on Your Silver
It’s best to limit how much you clean your silver, so you should take steps to prevent tarnish from developing in the first place. Exposure to humidity, light, and sulfur-containing gasses leads to tarnishing, so there are several tactics to protect your silver from these elements:
- Store silver in tarnish-resistant flannel or cotton to absorb gasses
- Put desiccant packets or pieces of chalk with silver to absorb moisture
- Use an activated charcoal filter near your silver to adsorb gasses
- Place silver in an airtight container or zip lock bag when not in use
In general, you want to limit the number of oils and hazardous substances that touch your silver. Avoid using cleaning sprays, perfumes, and other cosmetics around your silver, and always wipe it down with a soft cloth after handling.
Talk to Anita’s for House Cleaning Help
Don’t let tarnish keep you from showing off your silver pieces. With these handy tips, you’ll restore life to your valuables without stressing over wearing them down.
Of course, your silver isn’t the only thing in your house that needs shine to make you truly comfortable. When you need help getting your whole house sparkling clean, Anita’s makes it quick and easy to schedule a local cleaning professional to meet your needs. Request a booking today to brighten your home from top to bottom!